
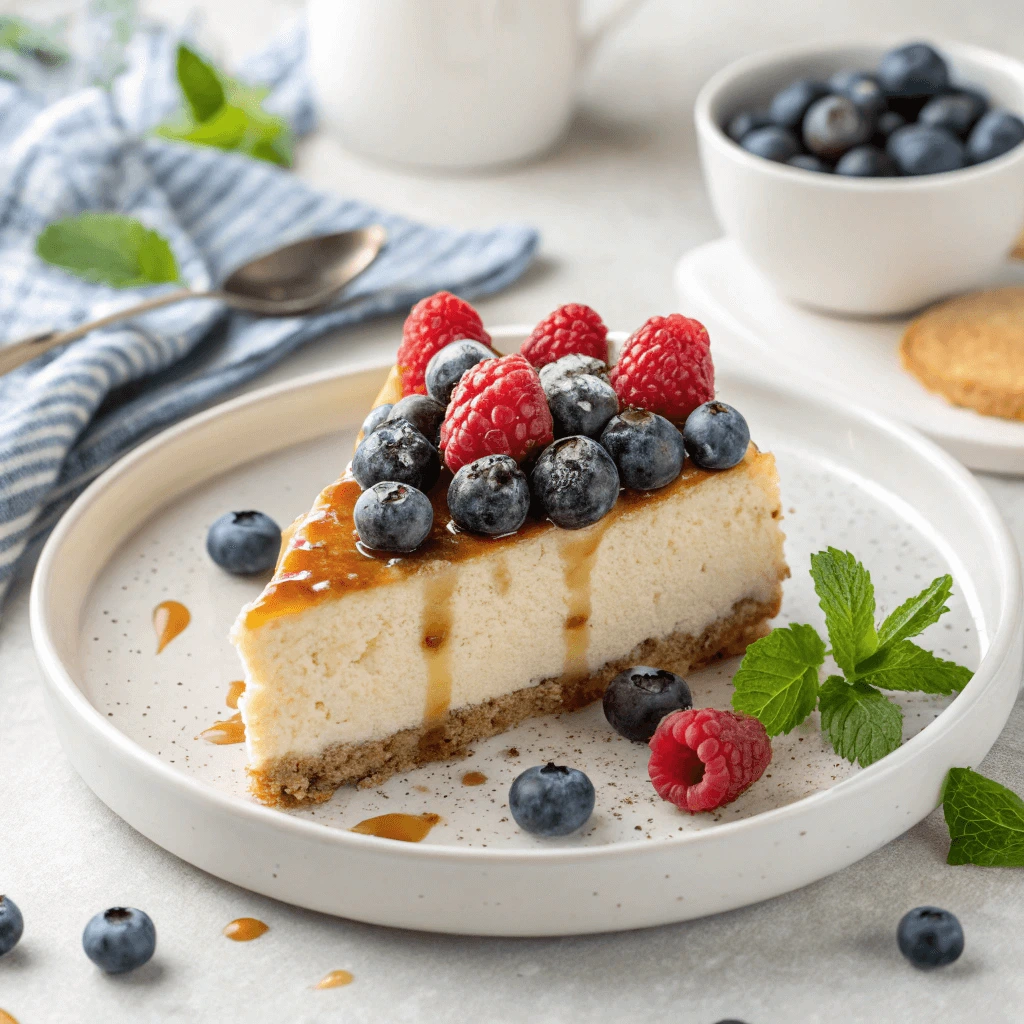
Are you craving something sweet but still want to stay on track with your health goals? A protein-packed cheesecake could be exactly what you need for a delicious and nutritious treat. It satisfies your dessert cravings while fueling your body with protein. This dessert is not only easy to make but also fits well into most healthy lifestyles. Whether you’re trying to build muscle, cut back on sugar, or eat more mindfully, this cheesecake gives you both flavor and function.
In this guide, you’ll learn everything from choosing the right ingredients to preparing a creamy, delicious, protein-rich cheesecake that tastes like the real thing. Let’s dive into the benefits before you bake.
Why a Protein-Packed Cheesecake Is a Smart Choice
Choosing a protein-packed cheesecake over a traditional one is more than just a healthy swap. It’s a decision that supports your fitness, taste preferences, and overall nutrition.
Protein-Packed Desserts Help You Stay Full Longer
When you choose a dessert with a high protein content, like a protein-packed cheesecake, you’re making a choice that benefits your appetite and energy. Protein slows digestion and helps regulate blood sugar, which keeps you feeling full for hours. That means you’re less likely to reach for another snack shortly after eating.
Cheesecake That Supports Your Health and Fitness Goals
Protein-packed cheesecake fits perfectly into a healthy lifestyle. It’s ideal for those focused on strength training, weight loss, or muscle maintenance. Each slice delivers nutrients without the heavy sugar or processed ingredients found in store-bought options. Plus, it can be part of your post-workout meal or as a satisfying night-time treat.
Perfect for Low-Carb and Gluten-Free Diets
If you’re following a low-carb, keto, or gluten-free eating plan, this protein-packed cheesecake checks all the boxes. Using ingredients like almond flour for the crust and natural sweeteners like monk fruit or stevia makes it easy to enjoy without compromising your plan. You can customize it further depending on your specific dietary needs.
Ingredients for a Delicious Protein-Packed Cheesecake
Getting the right texture and flavor starts with using wholesome, protein-rich ingredients. Here’s what you’ll need.

Start With Protein-Rich Bases Like Greek Yogurt or Cottage Cheese
The foundation of your protein-packed cheesecake should be high in protein. Choose from options like:
- Greek yogurt: Thick, creamy, and packed with protein
- Cottage cheese: Blends into a smooth texture when processed
- Neufchâtel or low-fat cream cheese: Adds that signature cheesecake richness while keeping fat and calories in check
Using a combination of these creates a smooth, creamy base that feels indulgent while still being good for you.
Choose the Right Protein Powder for Structure and Flavor
Protein powder boosts the nutritional value and gives your cheesecake more structure. Select one that complements your recipe:
- Whey protein: Fast-digesting and smooth
- Casein protein: Known for its slow digestion, rich consistency, and ideal for creating smooth, creamy desserts.
- Plant-based protein: Ideal for vegan or dairy-sensitive diets
Make sure your protein powder is unflavored or lightly flavored to avoid overpowering the cheesecake taste.
Sweeten Naturally With Healthier Alternatives
Skip the refined sugar and go for options that add sweetness without the crash:
- Stevia: Zero-calorie and great for baking
- Monk fruit sweetener: Natural and easy on your blood sugar
- Erythritol or allulose: Popular sugar alcohols that don’t cause spikes
These sweeteners keep the calorie count low while still delivering the flavor you love.
Add a Nutritious and Tasty Crust
Traditional graham cracker crusts are tasty but high in sugar. Instead, go for these:
- Almond flour: Low-carb and adds a nutty flavor
- Oat flour: Offers fiber and a subtle sweetness
- No crust: Works for no-bake versions or those avoiding carbs completely
Use a small amount of coconut oil or grass-fed butter to bind your crust and keep it firm.
Step-by-Step Instructions to Make a Protein-Packed Cheesecake
Now that you’ve got your ingredients ready, it’s time to turn them into a creamy, dreamy protein-packed cheesecake. Follow these steps closely for the best results.
Prepare the Ingredients and Preheat Your Oven
Start by gathering and measuring all your ingredients. Preheat your oven to 325°F if you’re baking the cheesecake. Line a springform pan with parchment paper or lightly grease it with oil or butter.
For a no-bake version, you’ll just need refrigerator space and a prepared pan.
Blend the Protein Cheesecake Filling Until Smooth
Add your base ingredients — Greek yogurt, cottage cheese, and cream cheese — to a food processor or high-speed blender. Blend until smooth and lump-free. Then, incorporate your protein powder, sweetener, vanilla extract, and eggs (if you’re baking).
Blend again until fully combined. Use a spatula to scrape the sides, making sure the mixture is smooth and well-combined.
Bake or Chill Depending on the Method You Choose
For baked cheesecake:
- Pour the filling into your prepared crust
- Bake for 35 to 45 minutes, until the center has set with a slight jiggle when gently shaken.
- Turn off the oven, leave the door slightly ajar, and let the cheesecake cool down gradually for an even finish.
For no-bake cheesecake:
- Pour the filling into the crust
- Refrigerate for at least 4 hours, preferably overnight
Either method yields a creamy, sliceable result.
Let It Set and Slice to Serve
After baking or chilling, allow the cheesecake to fully cool before slicing. Use a warm knife for clean slices. Store leftovers in an airtight container in the fridge for up to five days, or freeze individual portions for later.
Tips for a Protein-Packed Cheesecake That Tastes Amazing
Flavor and texture are just as essential as the nutritional value. These tips help you make a protein-packed cheesecake that doesn’t taste like health food.
Avoid Chalkiness by Using the Right Protein
Some protein powders can turn gritty or chalky when baked. To avoid this:
- Use a fine, high-quality protein powder
- Blend thoroughly with your base ingredients
- Avoid using too much powder, which can overpower the recipe
Stick to 1 scoop for small cheesecakes and 2 scoops for larger batches.
Choose Flavor Combos That Work Well With Protein
The right flavor pairing makes your cheesecake shine. Try these combos:
- Vanilla protein with lemon zest
- Chocolate protein with peanut butter swirls
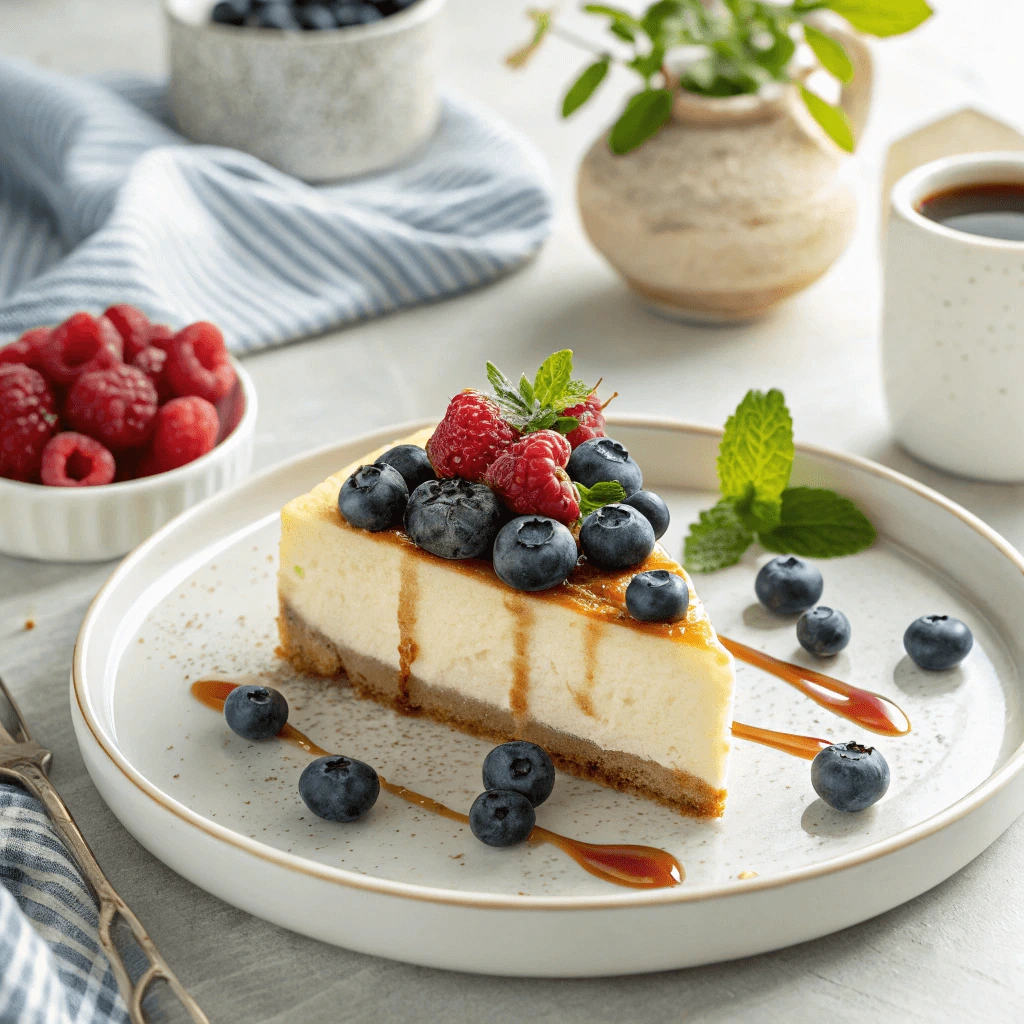
- Berry-flavored protein with fresh blueberries
Each brings out the richness of the cheesecake while keeping it exciting.
Top It Off Without Going Overboard
Toppings add flair and flavor. Choose wisely:
- Fresh berries
- Chopped nuts
- Dark chocolate shavings
- Sugar-free caramel drizzle
These not only enhance the look but add nutrition without piling on empty calories.
Store It Right for the Best Texture
Keep your cheesecake fresh by storing it properly. Refrigerate immediately after it has cooled. For longer storage, wrap slices in parchment paper and freeze them. Thaw in the fridge for best results.
Nutrition Table: Sample Breakdown (Per Slice)
| Nutrient | Amount (approximate) |
|---|---|
| Calories | 180–220 |
| Protein | 18–22 g |
| Carbohydrates | 5–8 g |
| Sugars | 1–2 g (from fruit/sweeteners) |
| Fat | 7–10 g |
Note: Nutrition may vary depending on your ingredients and portions.
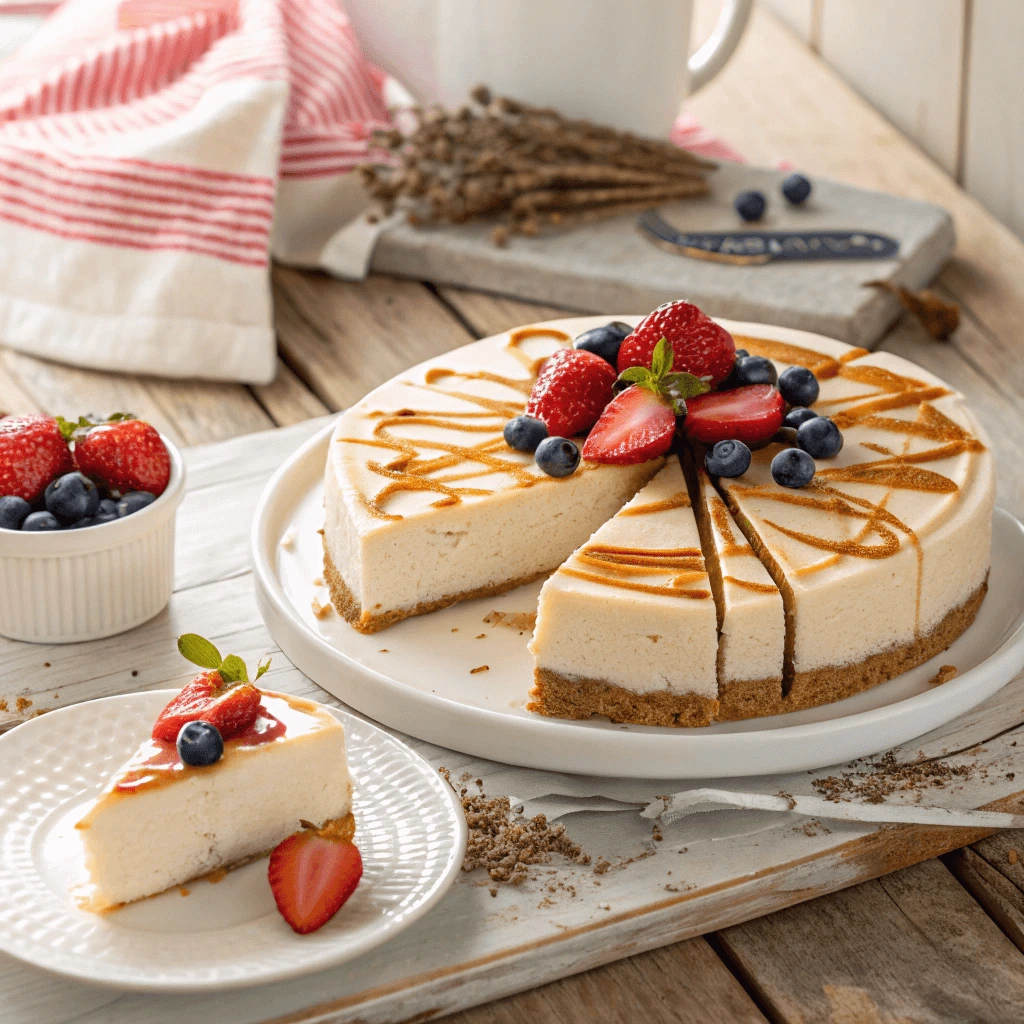
Make This Protein-Packed Cheesecake a Staple
Now that you know how to make a protein-packed cheesecake that actually tastes amazing, it’s time to try it for yourself. You no longer need to choose between dessert and staying healthy. With the right ingredients, smart techniques, and delicious flavor combinations, you can enjoy a guilt-free treat that fits your lifestyle. Perfect for meal prep, a weekend indulgence, or a special celebration, this cheesecake is guaranteed to wow every time.
Frequently Asked Questions
Can I use vegan protein powder in this recipe?
Yes, but keep in mind that plant-based proteins usually soak up more moisture. Adjust the yogurt or cream cheese to balance the texture.
Is this recipe keto-friendly?
Absolutely. Use almond flour for the crust and stevia or monk fruit to keep it low in carbs.
Can I make it without baking?
Yes. Just use a no-bake method by chilling the cheesecake for at least 4 hours.
How long can I store it?
Store in the fridge for up to 5 days or freeze slices for up to 2 months.