
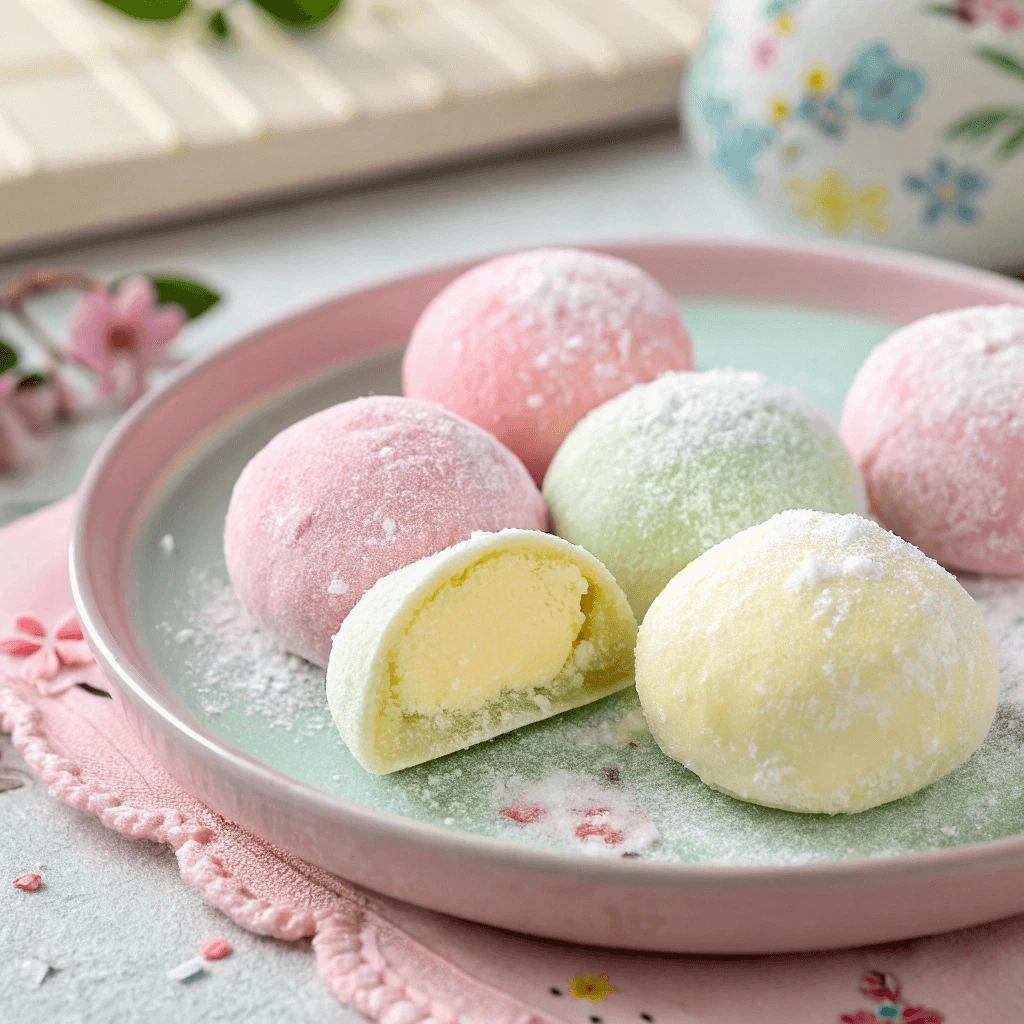
You are not alone if you have ever wondered how to make mochi ice cream at home. This chewy, sweet, and creamy dessert has captured hearts worldwide, thanks to its unique texture and delightful flavor combinations. Mochi ice cream combines soft rice dough wrapped around balls of ice cream, offering a fun twist to traditional desserts. In this guide, you will learn everything from ingredients to storage tips, all while keeping the process simple and enjoyable.
What is Mochi Ice Cream and Why You Should Try It
Mochi ice cream is a contemporary twist on the classic Japanese mochi dessert. This dessert merges chewy and creamy textures into one bite-sized delight by wrapping mochi dough around ice cream. While store-bought options exist, learning how to make mochi ice cream gives you control over ingredients, flavors, and freshness. Making this dessert at home lets you experiment with endless ice cream flavors and natural food colorings. Plus, it is often gluten-free and can be easily adapted for vegan diets. With just a few tools and the right technique, you can prepare a stunning treat that impresses family and friends.
What You Need to Make This Chewy Dessert at Home
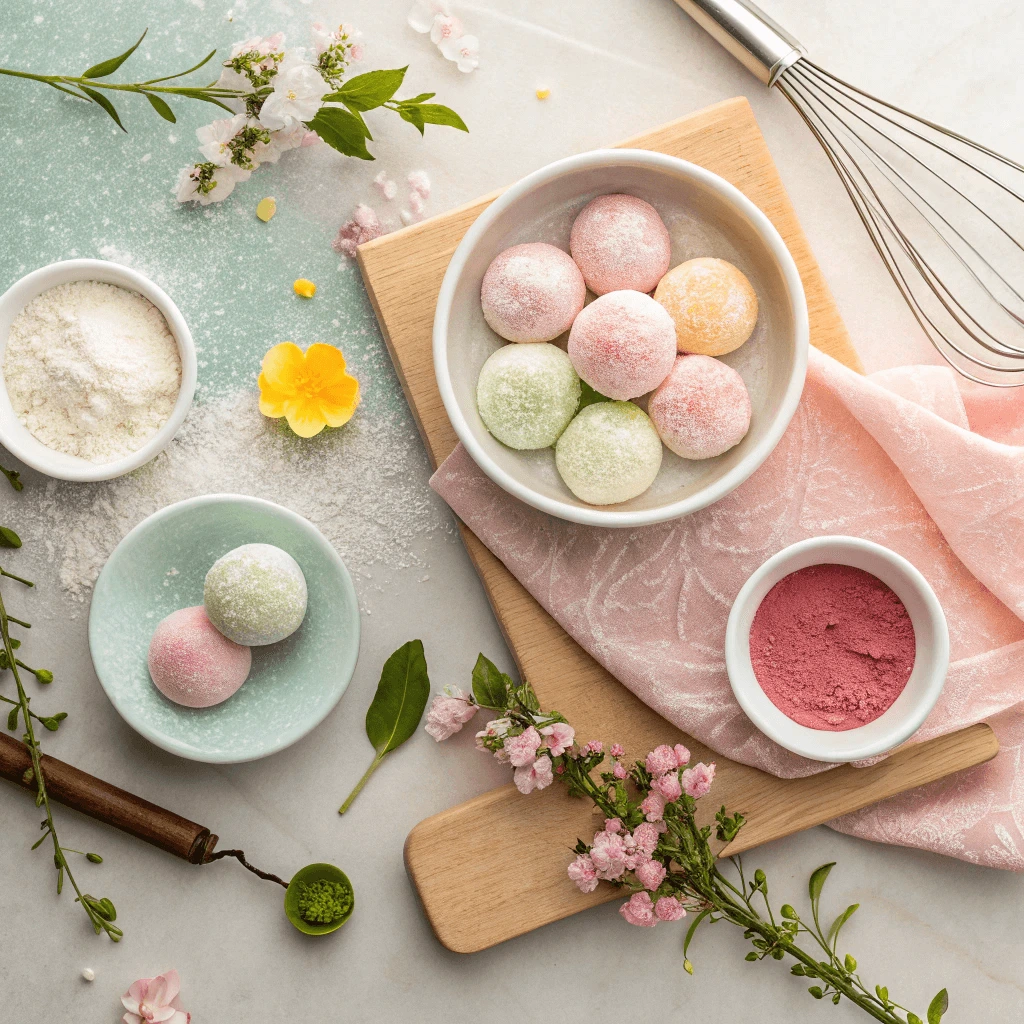
Before diving into how to make mochi ice cream, gather all the essential ingredients and tools. Preparation is key to achieving the right consistency and appearance.
Essential Ingredients:
- Glutinous rice flour (often labeled mochiko)
- Sugar
- Water
- Cornstarch or potato starch (for dusting)
- Ice cream (any flavor of your choice)
Helpful Tools:
- Mixing bowl
- Microwave-safe bowl or steamer
- Plastic wrap
- Baking sheet
- Rolling pin
- Cookie-cutter or round mold
The quality and type of ingredients you choose play a crucial role in the final result. Use glutinous rice flour specifically, as regular rice flour will not give you the desired stretchy texture. Choose high-quality ice cream to create a creamier, smoother filling.
Simple Steps to Craft This Iconic Frozen Treat
Now that your ingredients and tools are ready, it’s time to focus on how to make mochi ice cream with precision and ease. Follow these steps to achieve a perfect result every time.
- Pre-Scoop and Freeze the Ice Cream: Begin by scooping your chosen ice cream into small balls. Arrange them on a parchment-lined tray and place in the freezer until they are completely firm. This step makes the wrapping process much easier.
- Make the Mochi Dough: In a microwave-safe bowl, mix 1 cup of glutinous rice flour, 1/4 cup of sugar, and 3/4 cup of water. Stir well to eliminate lumps. Loosely cover with plastic wrap and heat in the microwave for about 1 minute. Stir the mixture, then microwave for another minute. Continue kneading the dough until it thickens and takes on a slightly see-through appearance.
- Roll Out the Dough: Dust your work surface and hands with cornstarch. Place the warm dough onto the surface and scatter additional starch on top. Roll the dough into a thin, even sheet about 1/4 inch thick. Use a cookie cutter or mold to cut circles from the dough.
- Wrap the Ice Cream: Remove the ice cream scoops from the freezer one at a time. Place a scoop right in the center of each dough circle. Quickly pinch the edges of the dough together to seal the ice cream inside. Individually wrap each mochi in plastic wrap and place them in the freezer right away.
- Serve and Enjoy: After about 1 to 2 hours in the freezer, your mochi ice cream will be ready to enjoy. Let them sit at room temperature for a minute or two before serving for a soft, chewy bite.
Tips and Tricks for Perfecting Mochi Ice Cream at Home
Mastering the art of making mochi ice cream takes a bit of practice. These tips will help you improve your technique and customize your creations.
Keep Your Work Area Cool: Mochi dough becomes sticky and hard to work with when warm. Always use cold hands and chill your tools if needed.
Use Plenty of Starch: Cornstarch or potato starch prevents sticking. Use plenty of it while rolling out the dough and when working with the finished mochi to prevent sticking.
Work quickly: The faster you work, the easier it is to wrap the ice cream without melting. Have all tools ready before starting.
Experiment with Flavors: You can add matcha, cocoa powder, or fruit purees to the dough for a colorful and flavorful twist. Pair mango mochi with creamy coconut ice cream, or try matcha mochi alongside classic vanilla.
Use Plastic Wrap for Shaping: After wrapping, place each mochi into a piece of plastic wrap and twist it tightly at the base. This will help you form a smooth and round shape while the mochi sets in the freezer.
How to Store and Serve Your Homemade Delight
Once you know how to make mochi ice cream, storing and serving it the right way will ensure freshness and presentation.
Storage Tips:
- Keep mochi ice cream in an airtight container
- Place a sheet of parchment paper between each piece to keep them from sticking together.
- You can store it in the freezer and keep it fresh for up to two weeks.
Serving Ideas:
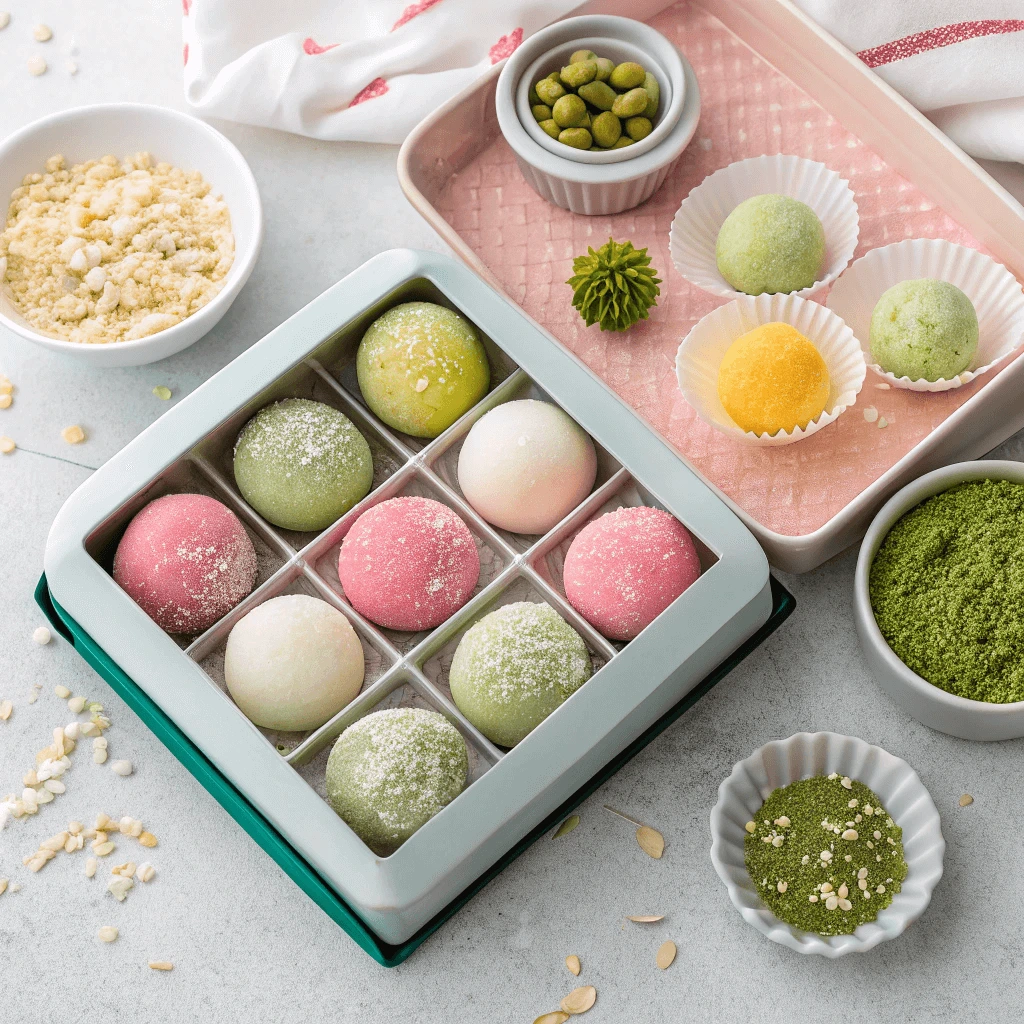
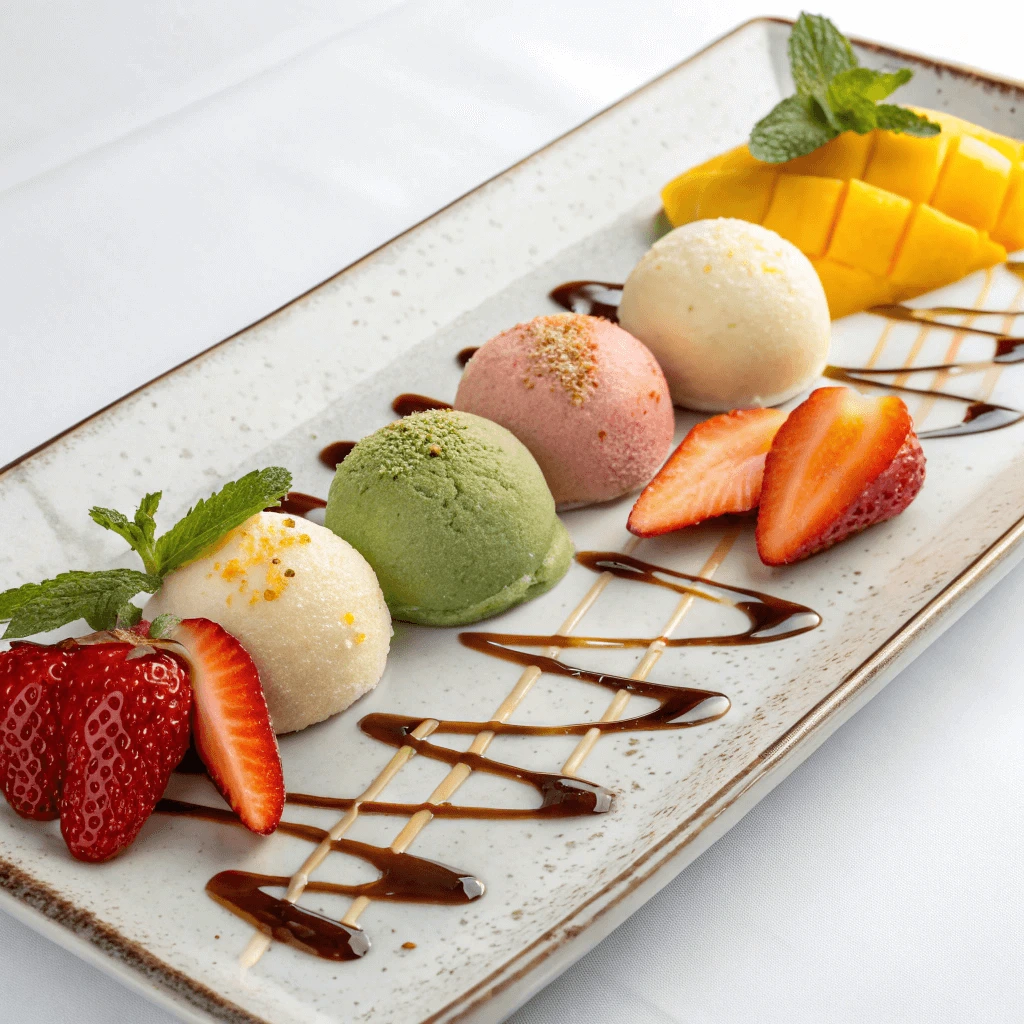
Serve this delicate treat on small dessert plates with fruit slices or a drizzle of chocolate sauce. Sprinkle a light layer of powdered sugar or matcha on top to add a refined, gourmet finish. These sweet bites also add an elegant touch to party trays or dessert boxes arranged in a bento style.
For a more interactive dessert, create a build-your-own bar where guests can choose from different flavors and toppings. This idea works perfectly for birthdays and other celebrations.
Avoid These Mistakes for Perfect Mochi Every Time
While learning how to make mochi ice cream is simple, a few common errors can affect the final result. Avoid these pitfalls to ensure success.
Using the Incorrect Flour: Be sure to use glutinous rice flour, as regular rice flour won’t provide the stretchy, chewy texture that’s essential.
Skipping the Freezing Step: Ice cream balls are essential for easy wrapping. Never try to wrap soft or melting scoops.
Rolling Dough Too Thin or Too Thick: Too-thin dough may tear, while too-thick dough can overpower the filling. Aim for a consistent 1/4-inch thickness.
If the dough isn’t sealed tightly enough, the mochi can come apart while stored in the freezer. Press the edges firmly together, then snugly cover the entire form with plastic wrap to secure it.
Overhandling the Dough: Mochi becomes stickier the longer it is handled. Work fast, use starch, and shape with minimal contact.
If you steer clear of these errors, you’ll be able to savor perfect mochi ice cream every single time.
Frequently Asked Questions About Preparing Mochi Ice Cream
To achieve that perfectly chewy consistency, use glutinous rice flour, also known as mochiko. Do not substitute with regular rice flour.
Yes, steam the dough over medium heat for 15 to 20 minutes, stirring occasionally.
Mochi dough is naturally sticky. Coat your hands and utensils with cornstarch or potato starch to make them easier to handle.
Store it in a sealed container and keep it frozen for up to 14 days. Store in a sealed container and keep in the freezer for up to 14 days. Let it sit at room temperature for a short while before you serve it.
You can choose dairy-free ice creams that use coconut, almond, or cashew milk as a rich and creamy base.
Yes, as long as you use glutinous rice flour and gluten-free ice cream.
Absolutely. Add matcha, cocoa, or fruit juices to create colorful and delicious variations.
Use a 3.5 to 4-inch dough circle for a 1.5-inch ice cream scoop to ensure perfect balance.
Enjoy Your Homemade Mochi Ice Cream
The possibilities are endless now that you know how to make this delightful Japanese-inspired dessert. It allows for creativity, dietary customization, and plenty of delicious fun. With the right tools, a bit of practice, and a touch of patience, you will soon master the art of this chewy, creamy treat. Serve it at gatherings, enjoy it after dinner, or give it as a thoughtful homemade gift. Each bite will be well worth the effort.
Whether you are trying it for the first time or looking to refine your technique, use this guide as your go-to resource. Mochi ice cream is more than just dessert—it’s an exciting combination of soft, chewy texture and creamy sweetness that delights both the senses and the taste buds.